
Renovation Concept Workspace
Overlay a supplied finish or fixture concept onto a room photo and compare it beside the untouched source before project decisions.
Identity and property studio
Renovation Concept Workspace
Overlay a supplied finish or fixture concept onto a room photo for side-by-side discussion.
Before
Add a room photo to begin.
Concept preview
Add both source assets or load the example.
Overlay
65% at 50% / 53%
Treatment
78% opacity · 0°
Processing
Local browser
About the Renovation Concept Workspace
Renovation Concept Workspace places a finish, fixture or design overlay you supply onto a current room photograph. The original and concept remain side by side so stakeholders can discuss the proposed direction without confusing it with completed work.
Placement, scale, rotation and opacity make it possible to explore wall panels, surface treatments, fixtures and decor assets. The composite does not simulate material reflectance, installation detailing or structural suitability.
Export a concept PNG, a side-by-side JPG and settings JSON. Use the result for early discussion, then rely on samples, measurements and qualified professionals before procurement or construction.
Key features
- Current-room and design-overlay inputs
- Before and concept comparison
- Scale and X/Y placement
- Rotation and opacity controls
- Optional overlay shadow
- Concept PNG and comparison JPG
- Reusable settings JSON
- Complete renovation example
- Local browser processing
How to use
- 1Upload a well-lit photograph of the current room.
- 2Add a transparent finish or fixture overlay or load the example.
- 3Place and scale the overlay using visible room references.
- 4Adjust rotation and opacity to communicate the design intent.
- 5Compare the concept with the untouched source.
- 6Verify samples, measurements, installation and structural requirements before work begins.
Examples
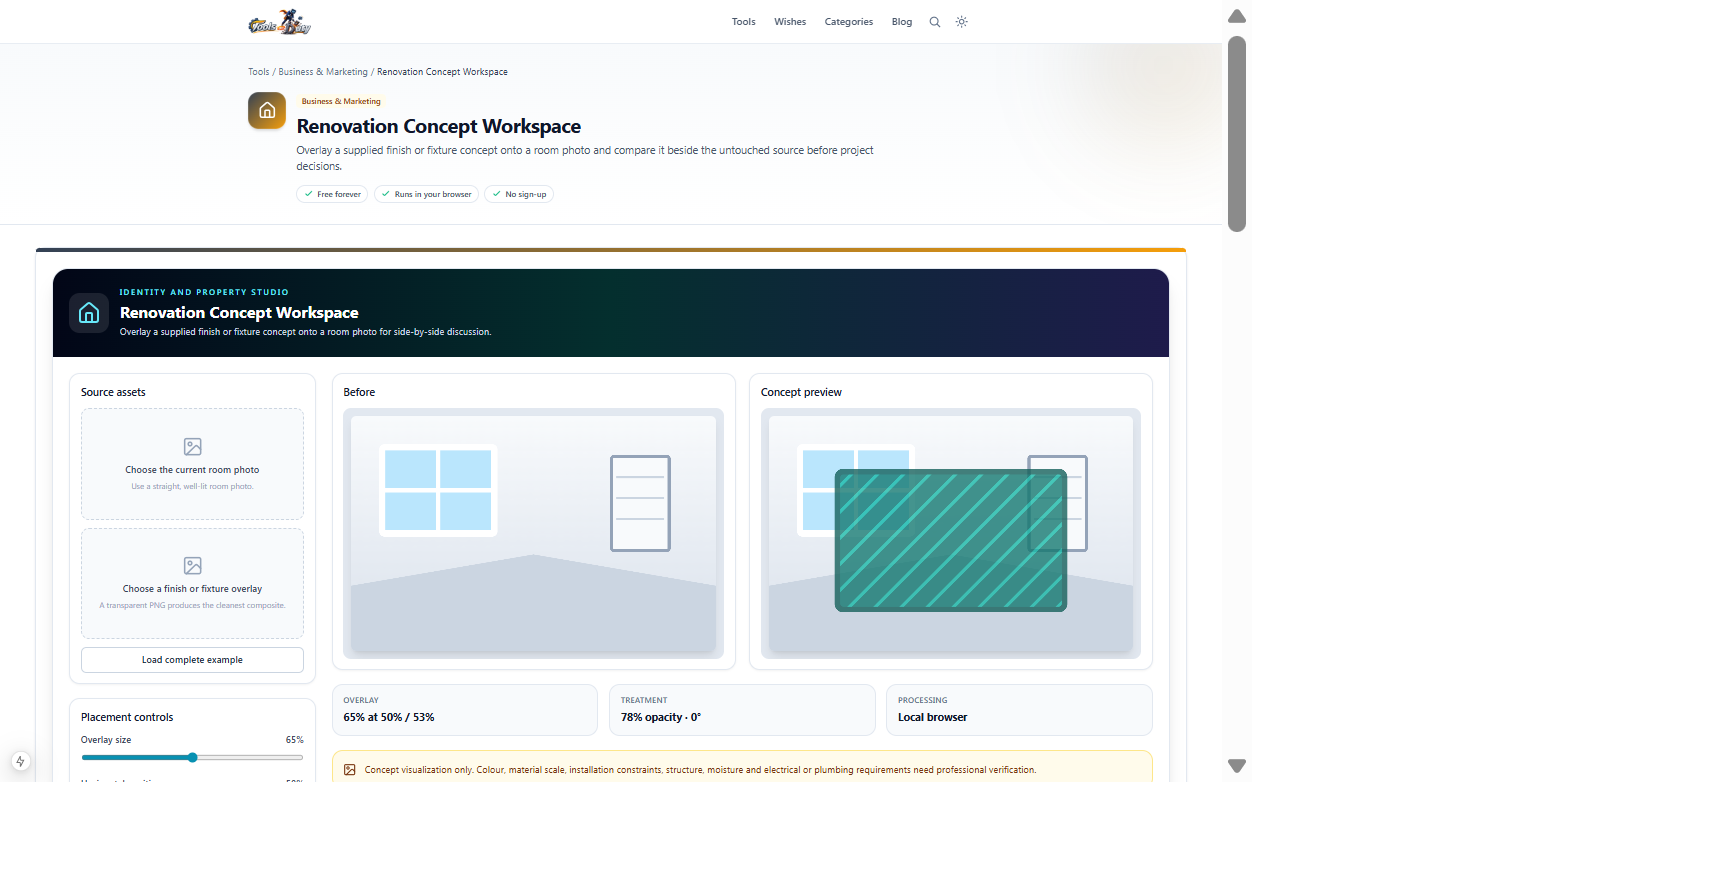
Current room photograph and transparent teal panel treatmentBefore view, renovation concept and side-by-side comparisonClick Load complete example to understand the controls, then compare real material samples in the actual room lighting.
Frequently asked questions
- Does the preview show exact final colours?
- No. Screen calibration, room lighting, camera processing and real material variation can change perceived colour.
- Can it confirm structural or installation feasibility?
- No. Consult qualified trades or design professionals for structure, moisture, electrical, plumbing and installation requirements.
- Does it generate a renovated room?
- No. It composites the supplied design asset onto the supplied room image.
- Are property images uploaded?
- No. The workflow remains local.
Continue your workflow
Open a related tool to prepare your files or refine the finished result.
- Business & MarketingVirtual Staging Workspace
Place a supplied transparent furniture asset into a room photo, compare before and after, and export an auditable concept preview.
Open tool - Image ToolsImage Filters
Apply grayscale, sepia, brightness, contrast, blur and other filters to an image.
Open tool - Image ToolsColor Palette Extractor
Extract 3-12 distinct dominant colours with HEX, HSL, CSS, JSON and palette-image outputs.
Open tool